Availo Plus App – User Guide

Availo Plus App – User Guide
Part 1: Initial Account Setup
1. Downloading the App and Creating an Initial Account
Download the Availo Plus application from the App Store (iOS) or Google Play (Android). After opening the app for the first time, follow these steps:
A. Select Language
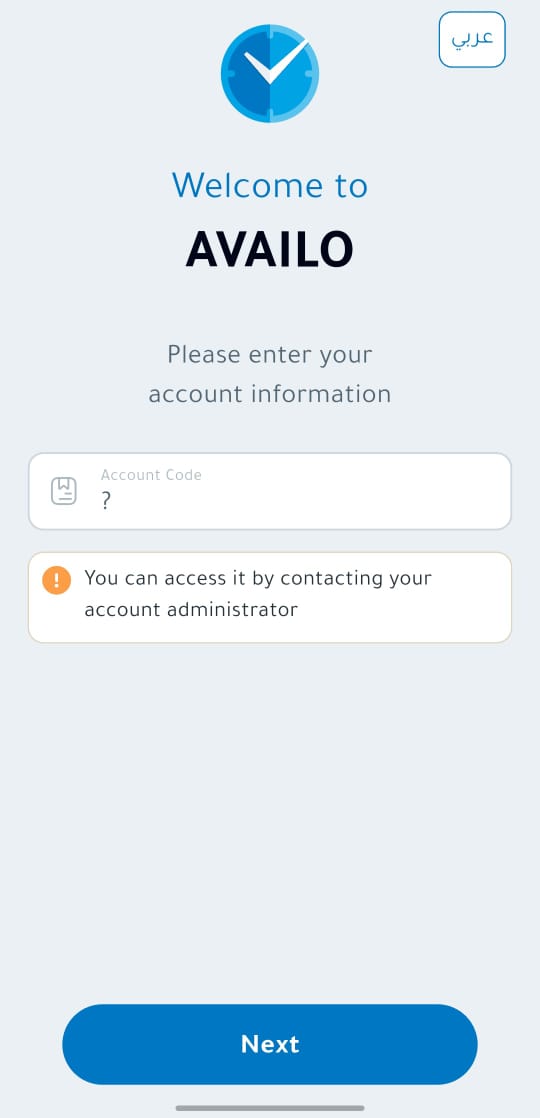
You can change the app’s language using the language button located in the upper corner of the screen.
B. Enter the Organization Account Code
The code will be provided by your system administrator only. After entering the code, tap Next. Please check the organization name before proceeding.
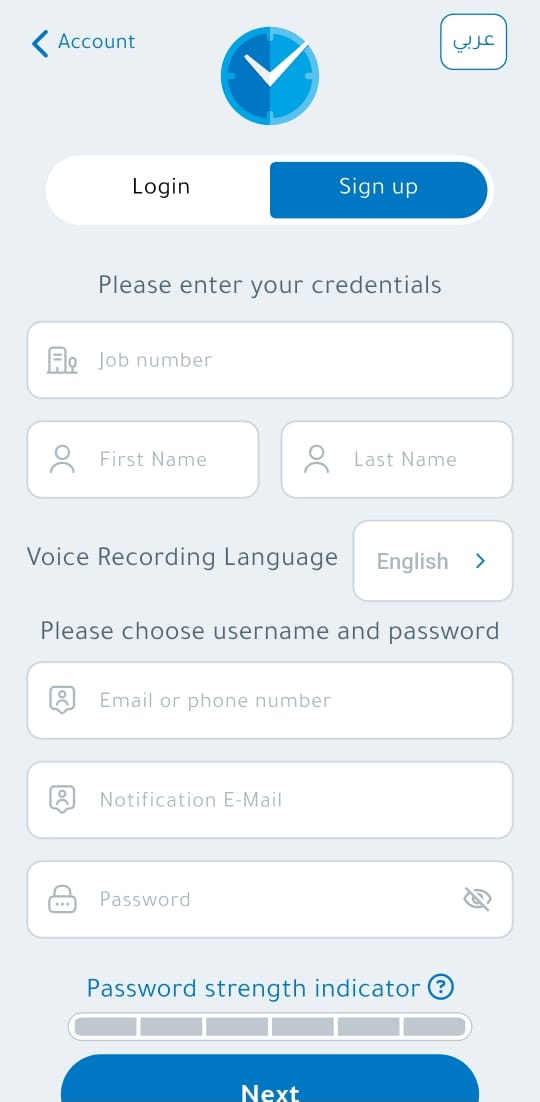
2. “New Registration” Screen
This screen allows you to create a new user account in the system.
-
Employee Number
-
First Name
-
Last Name
-
Username: Can be a phone number or email (used later for login).
-
Password: Set by the user during the first registration.
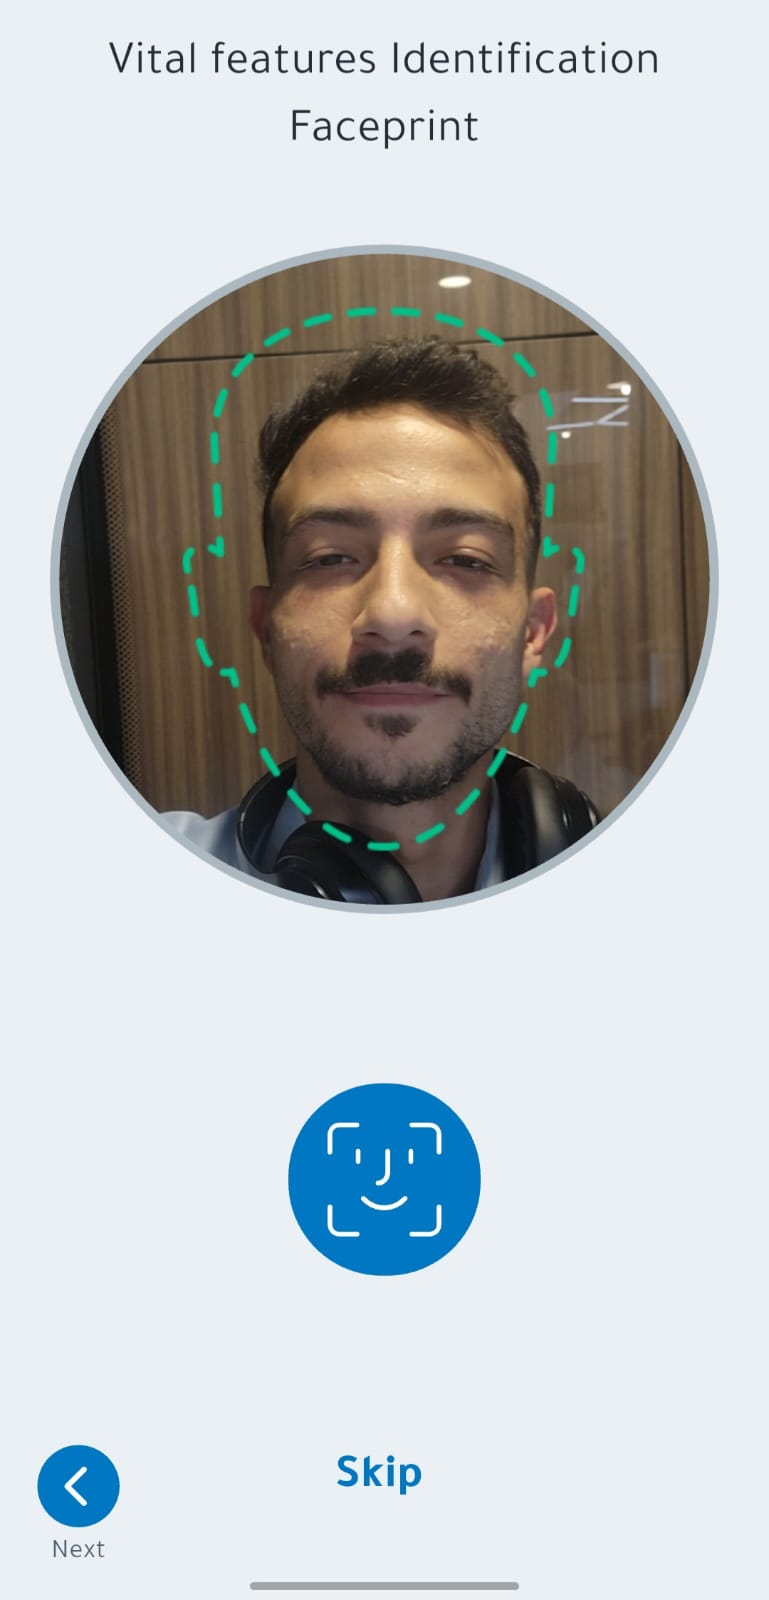
3. Biometric Registration
After entering valid data, you will proceed to the biometric registration stage:
-
A) Face Recognition Enrollment: The camera screen will appear. Position your face within the frame and capture the photo.
-
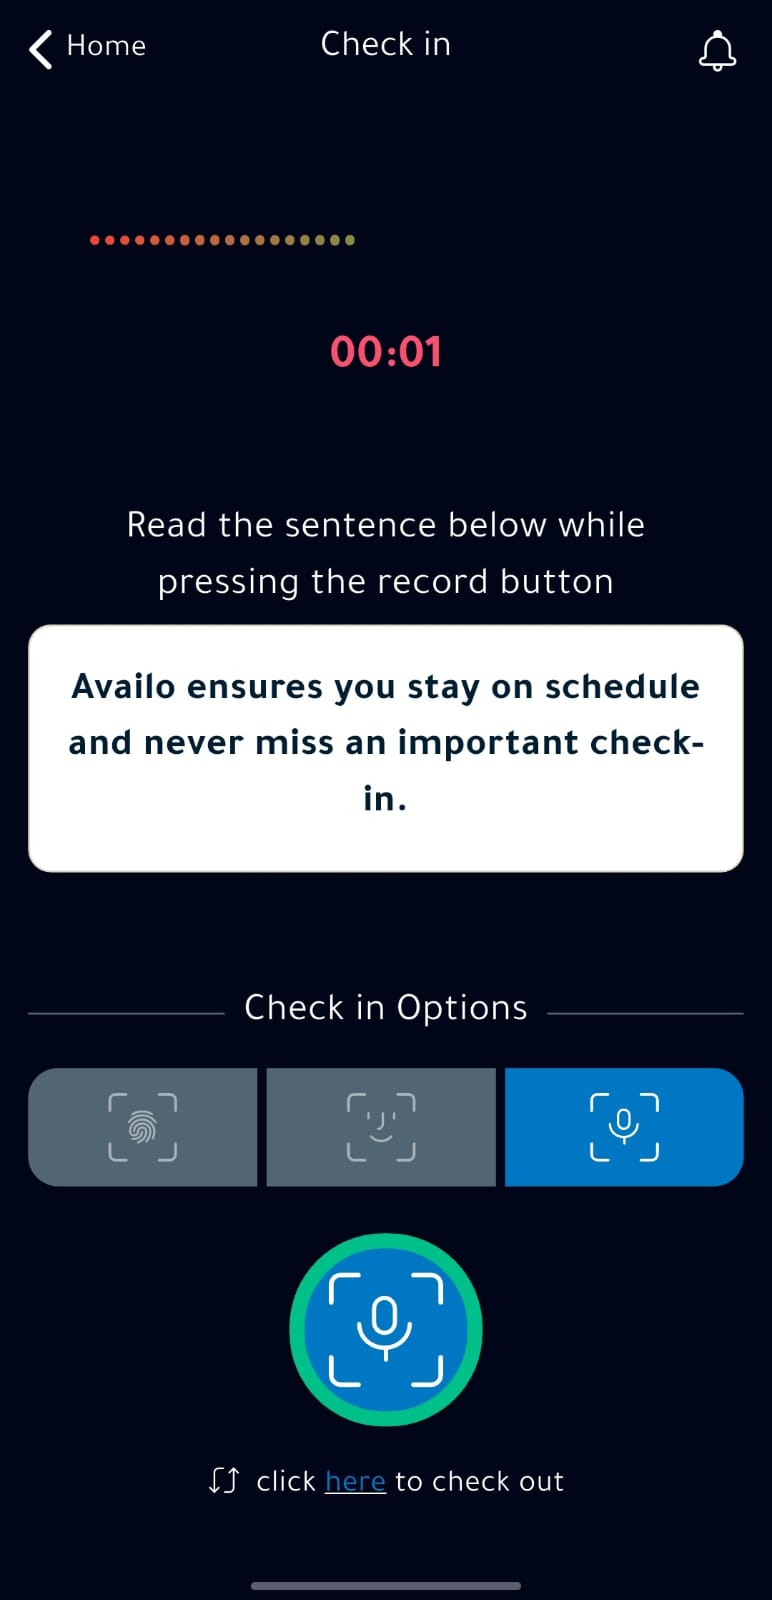
B) Voice Recognition Enrollment: You will see highlighted sentences on the screen. Tap Record and start reading the text clearly.
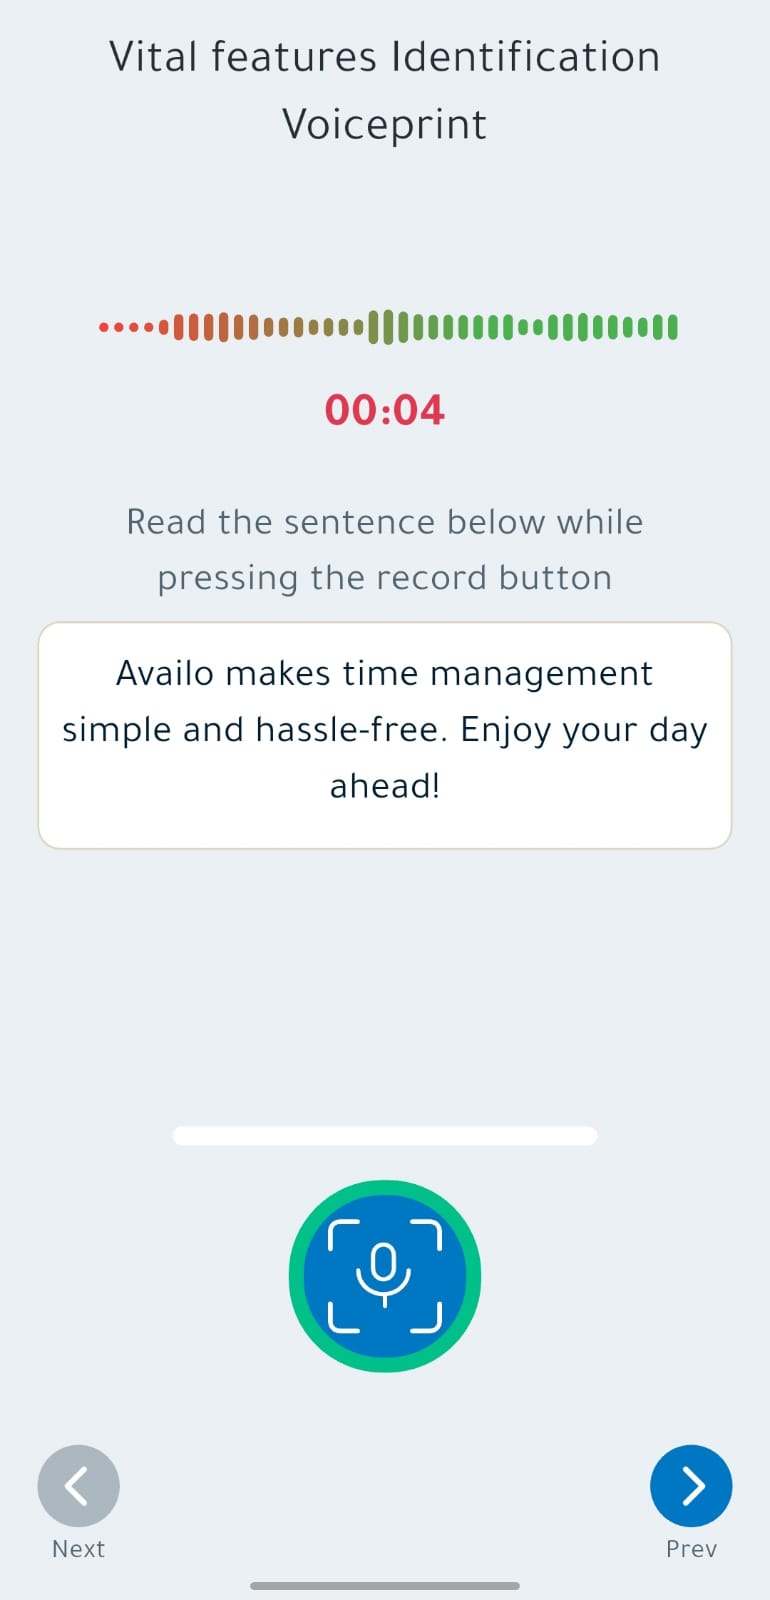
-
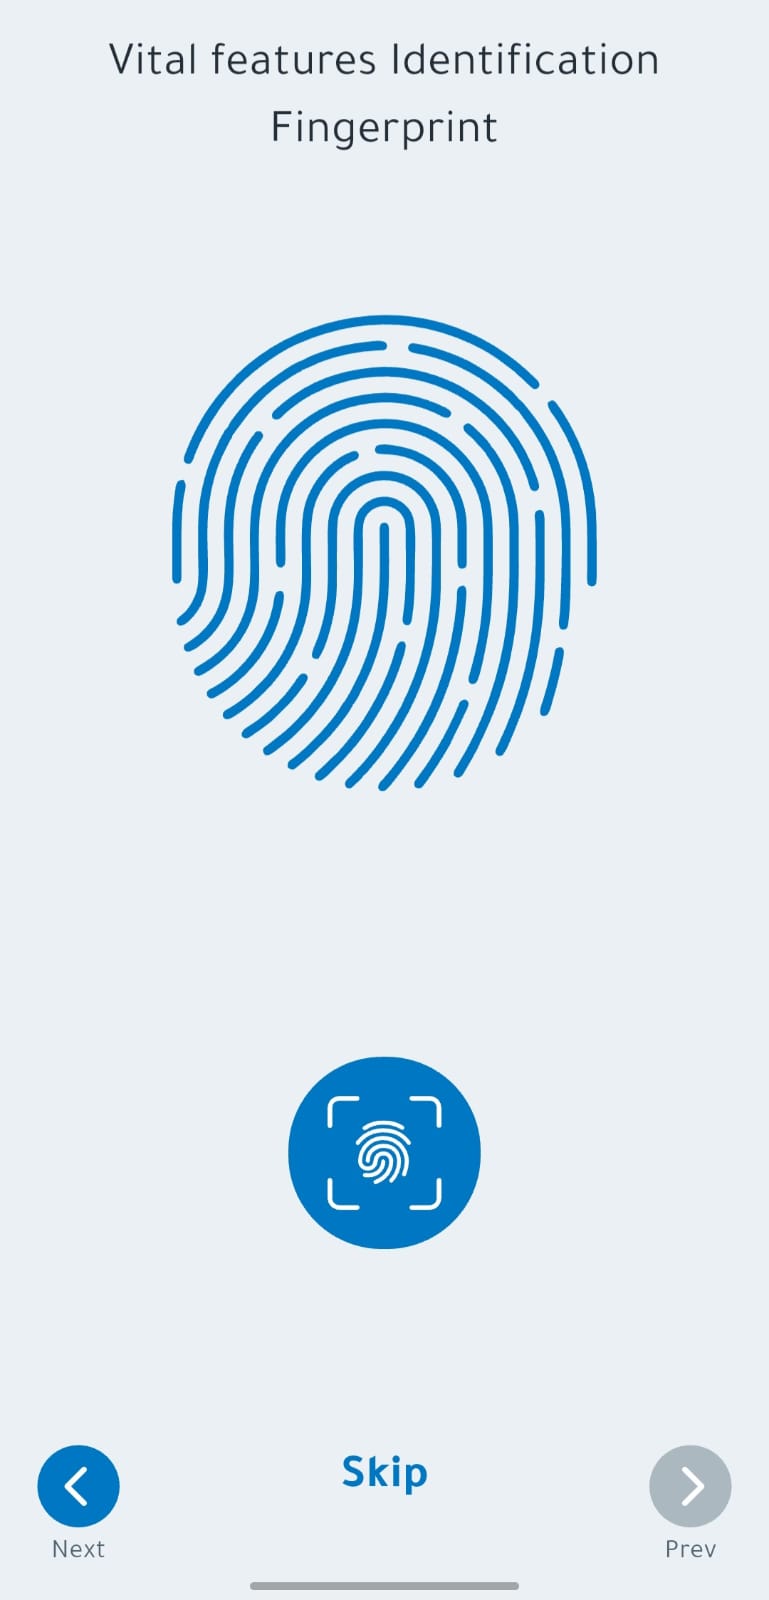
C) Fingerprint Enrollment: The app uses the device’s existing biometric lock (Fingerprint/Face ID). Tap Register and the system will verify your fingerprint.
4. Completing Registration
After finishing biometric registration, a summary screen will appear. Tap Submit. Your data will be sent to the system administrator for activation.
✨ Congratulations! You have successfully created your account.
Part 2: Daily App Usage
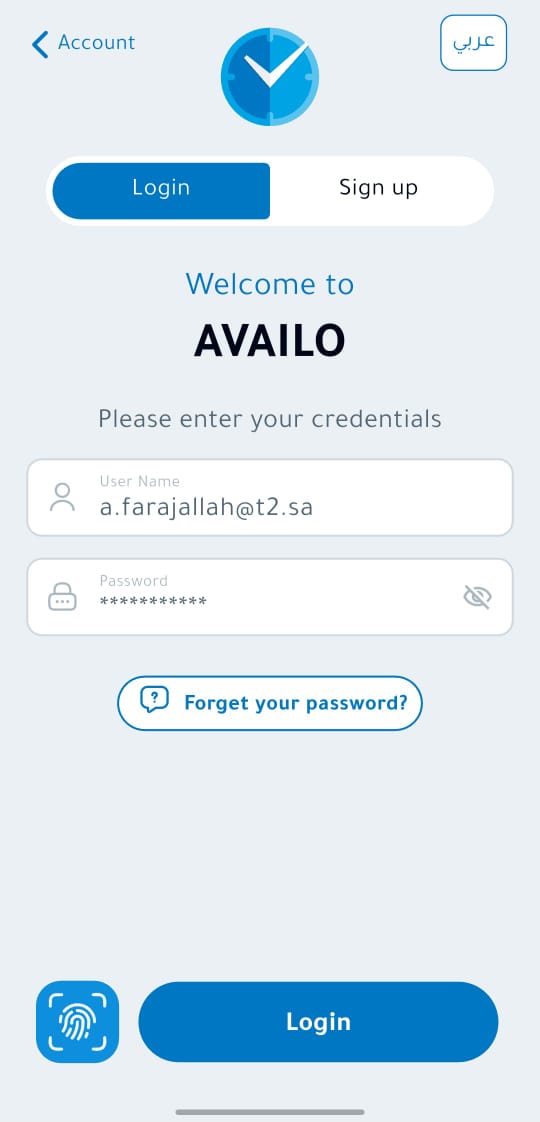
1. Login
After your account is approved by the administrator, you can log in to the application. On the Login screen, enter your username and password correctly.
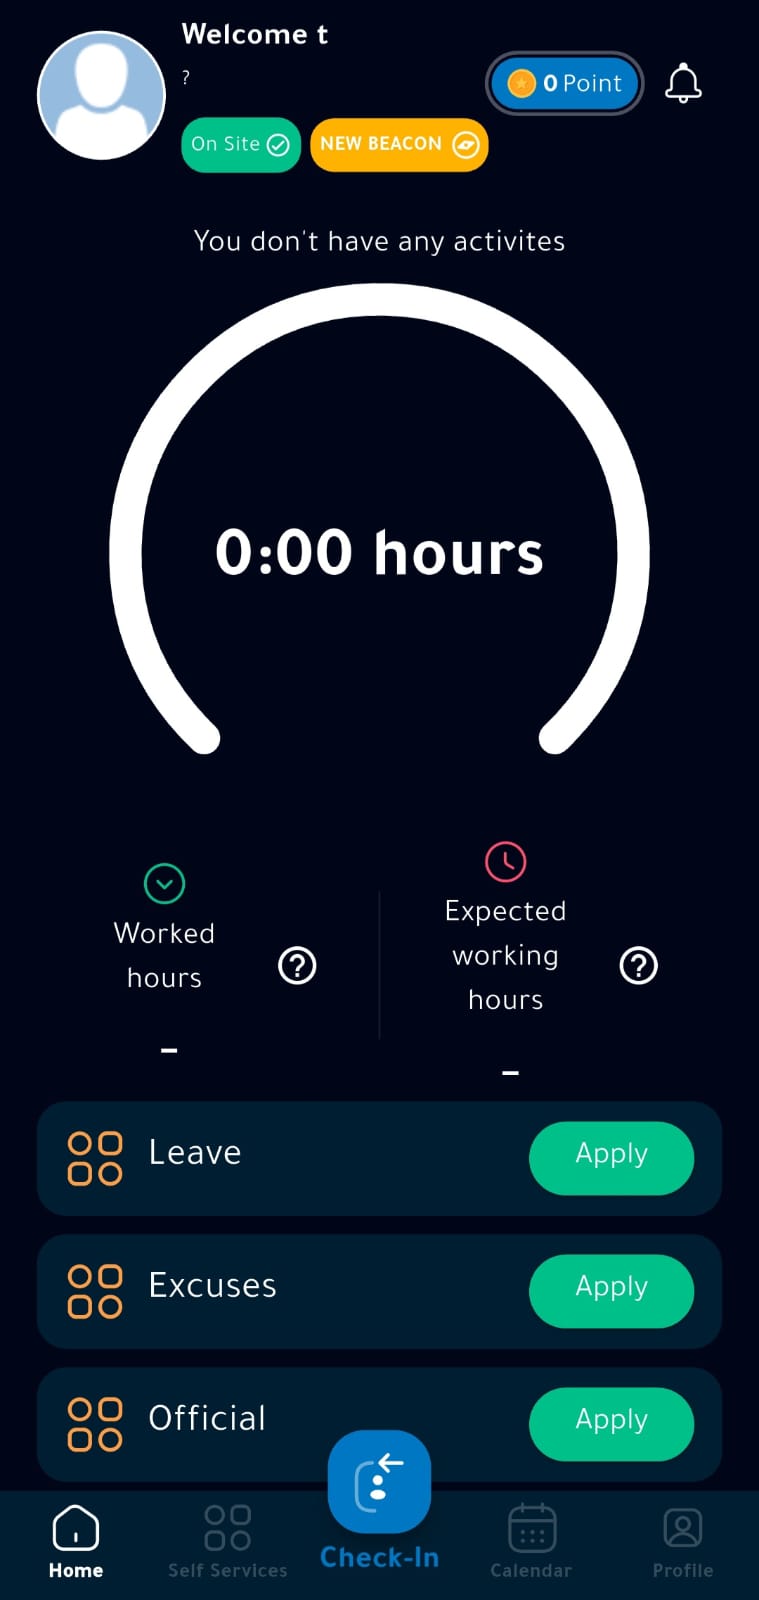
2. Home Screen
After logging in, the Home Screen will appear, which contains:
-
User Information: Your name, profile picture, and department.
-
Location Verification: Appears red if no authorized location is found and green when the correct location is detected.
-
Notifications: Displays all system alerts.
-
Last Activity: Shows your latest action (Check-in or Check-out).
-
Hours Counter: Calculates hours and minutes worked.
⚠️ Always make sure to enable Bluetooth and Location in the application settings.
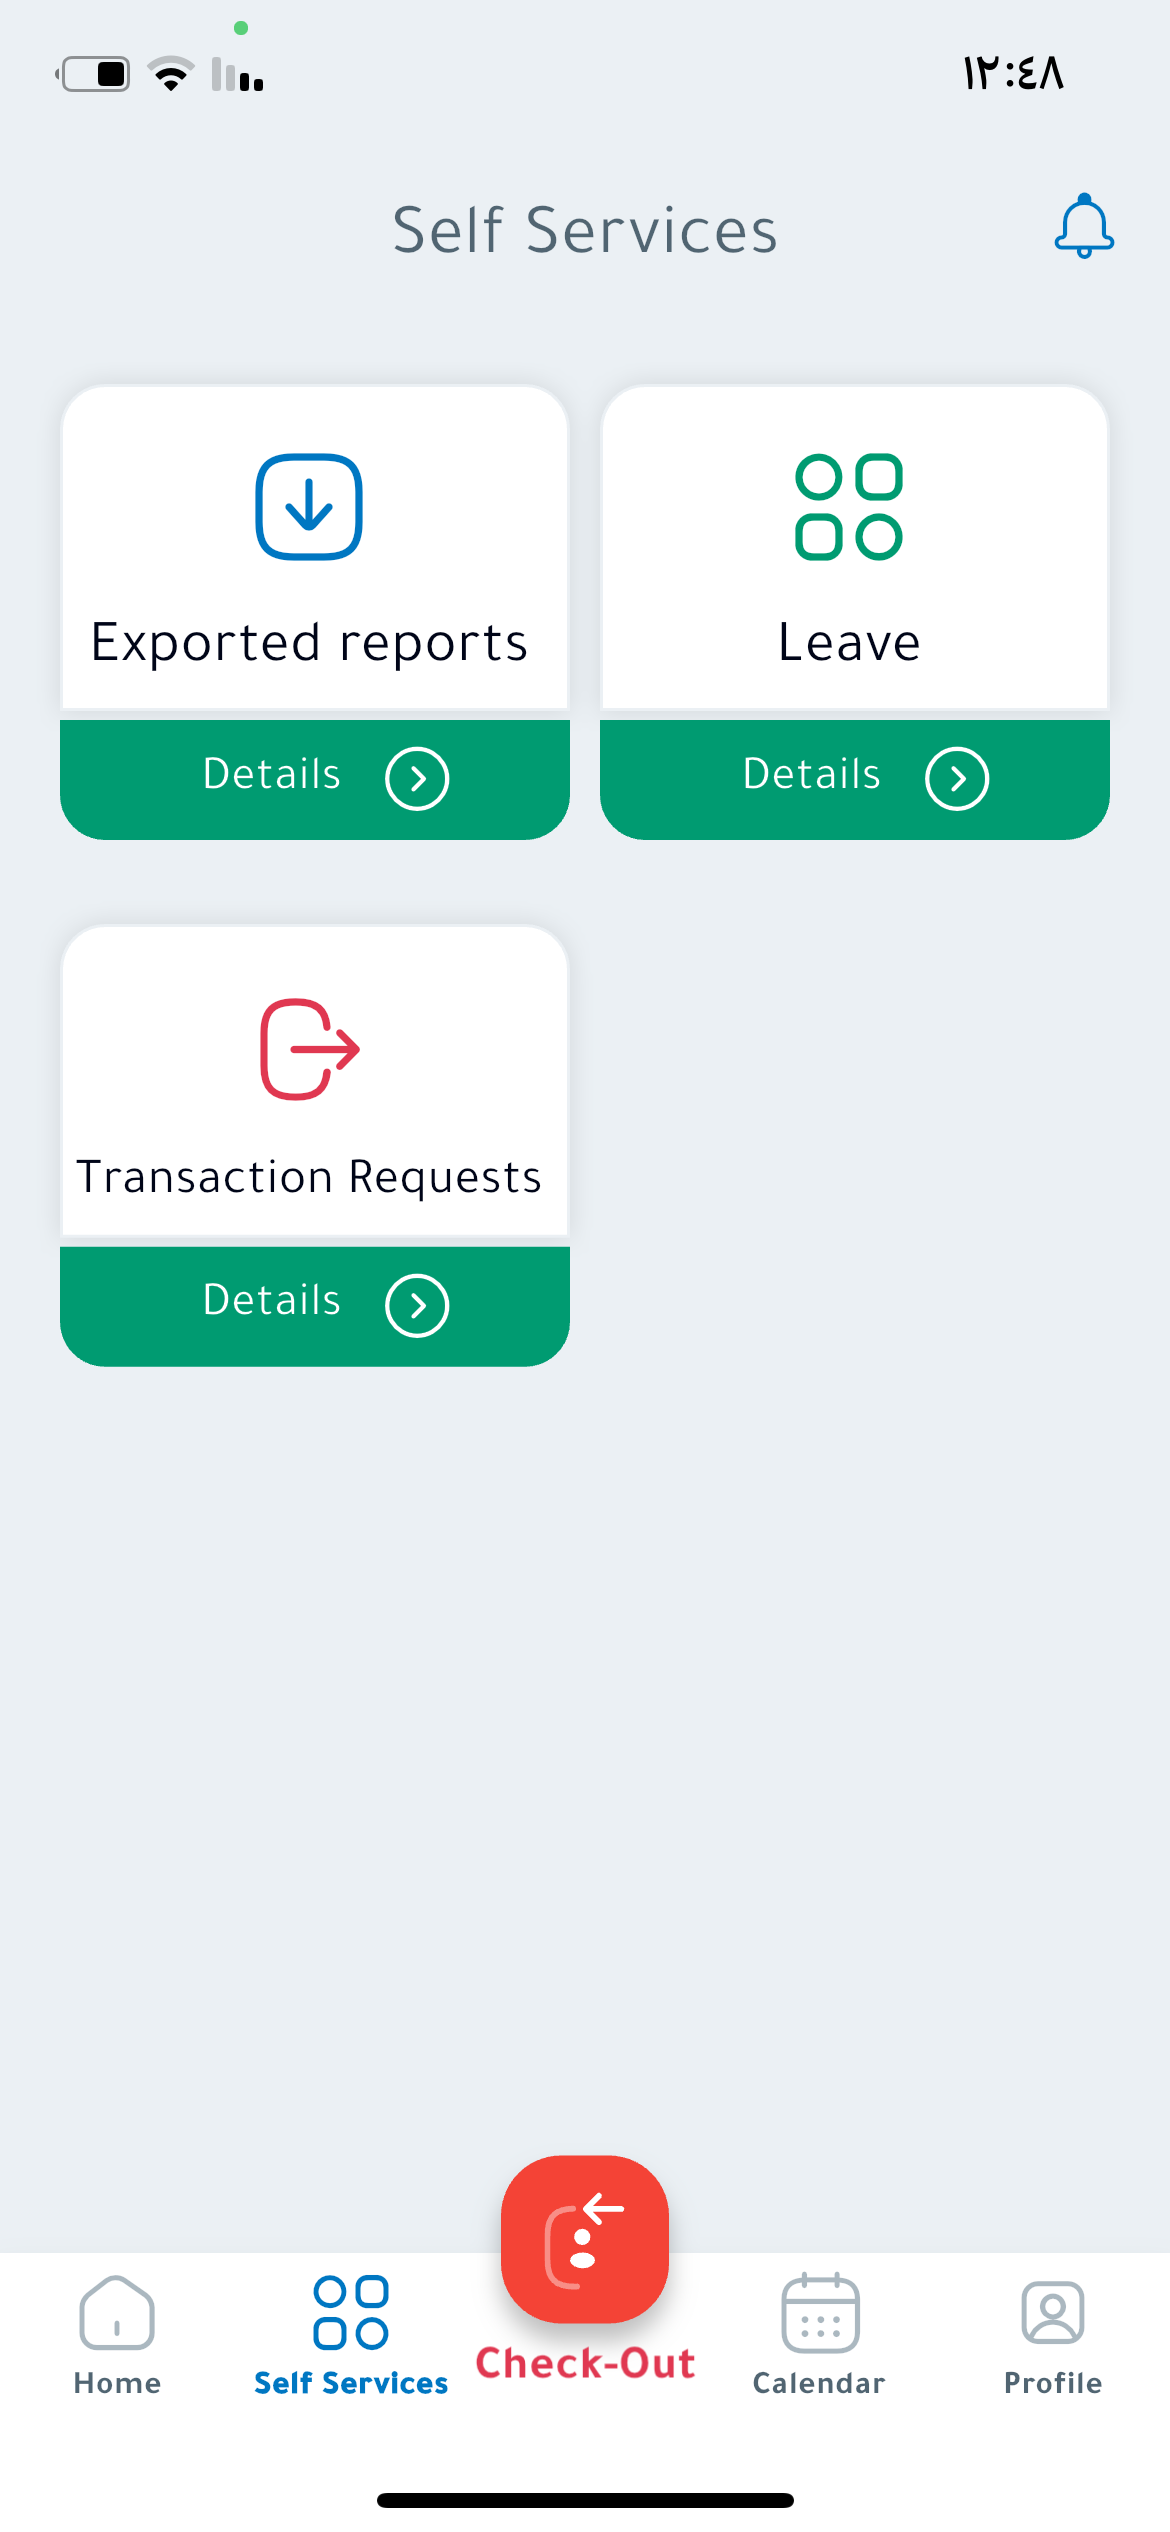
3. Self-Service Screen
This screen allows you to submit requests:
-
Leave: Request a leave and specify its type.
-
Permission: Request a permission (emergency or medical).
-
Official Requests: Such as assignment, business trip, or training.
-
New Exit Request: For a full-day or partial-day exit.
-
Transactions Requests:
-
Check-out Request: Pick a time and date, add optional notes/files, and send to the manager.
-
Check-in Request: Select the time and current date to log your attendance..
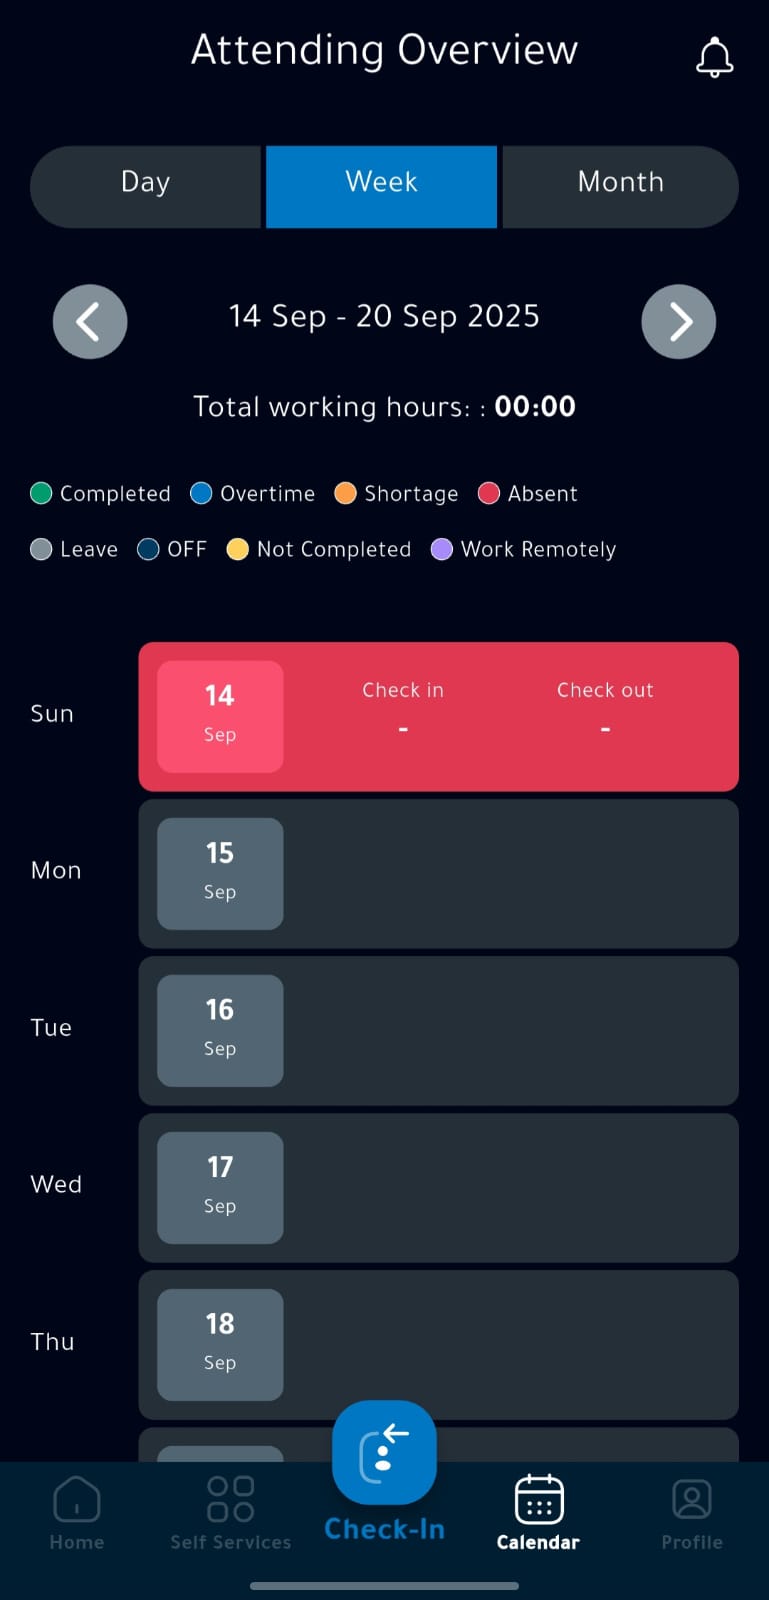
4. Calendar Screen
Here, you can view your attendance and departure details in a daily, weekly, or monthly view.
-
🔵 Green circle = Check-in
-
🔴 Red circle = Check-out
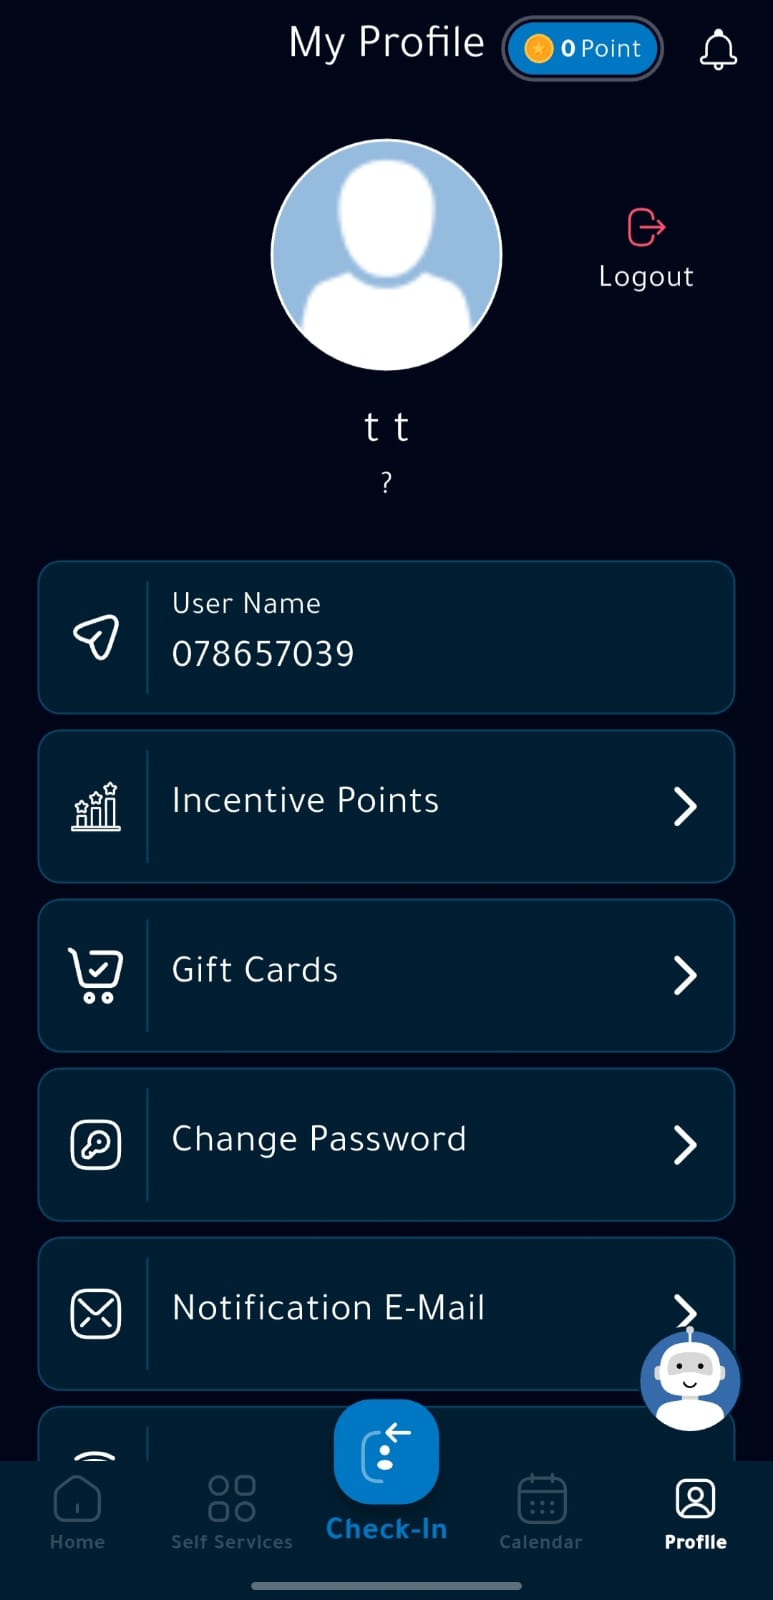
5. My Account (Settings)
Accessible by pressing the Account button. Options include:
-
Change password.
-
Request check-out for days without recorded departures.
-
Enable fingerprint or facial recognition.
-
Select language and theme (Light/Dark).
6. Attendance & Departure Screen
This is the central screen used to record your check-in or check-out using your registered biometrics (Face, Voice, or Fingerprint).